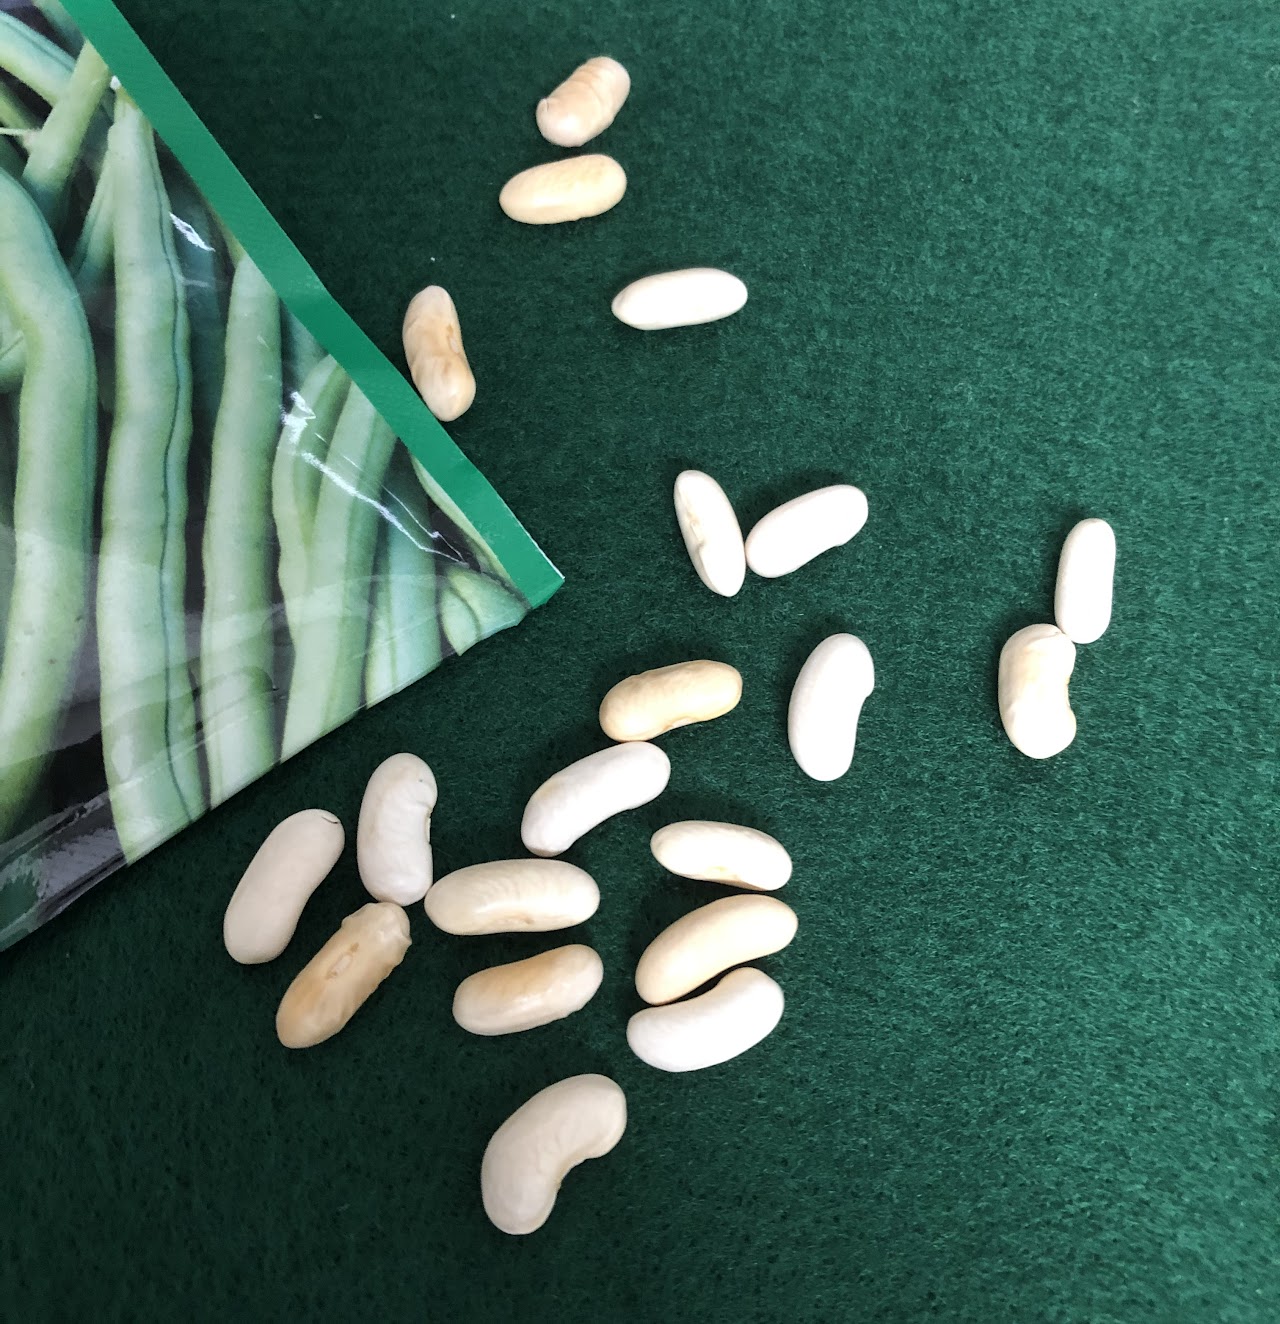
Start with seeds

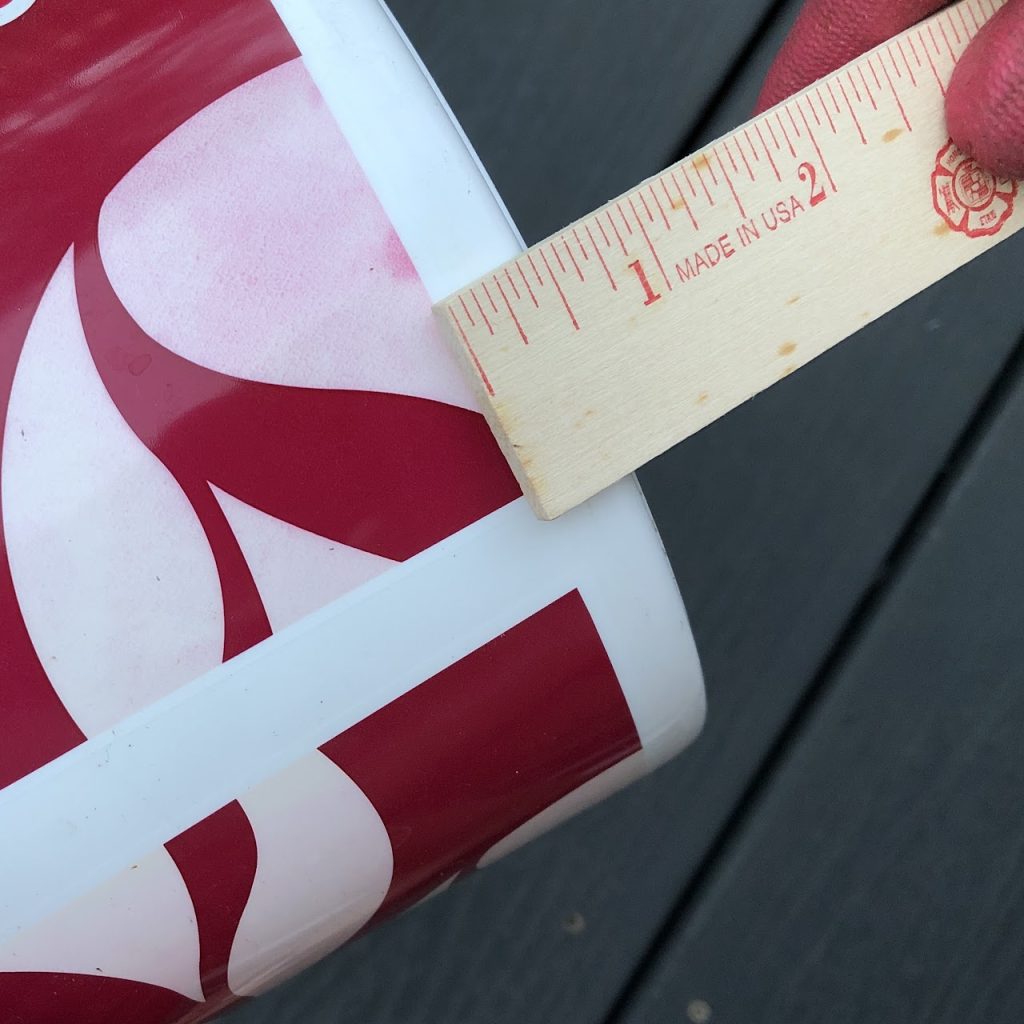
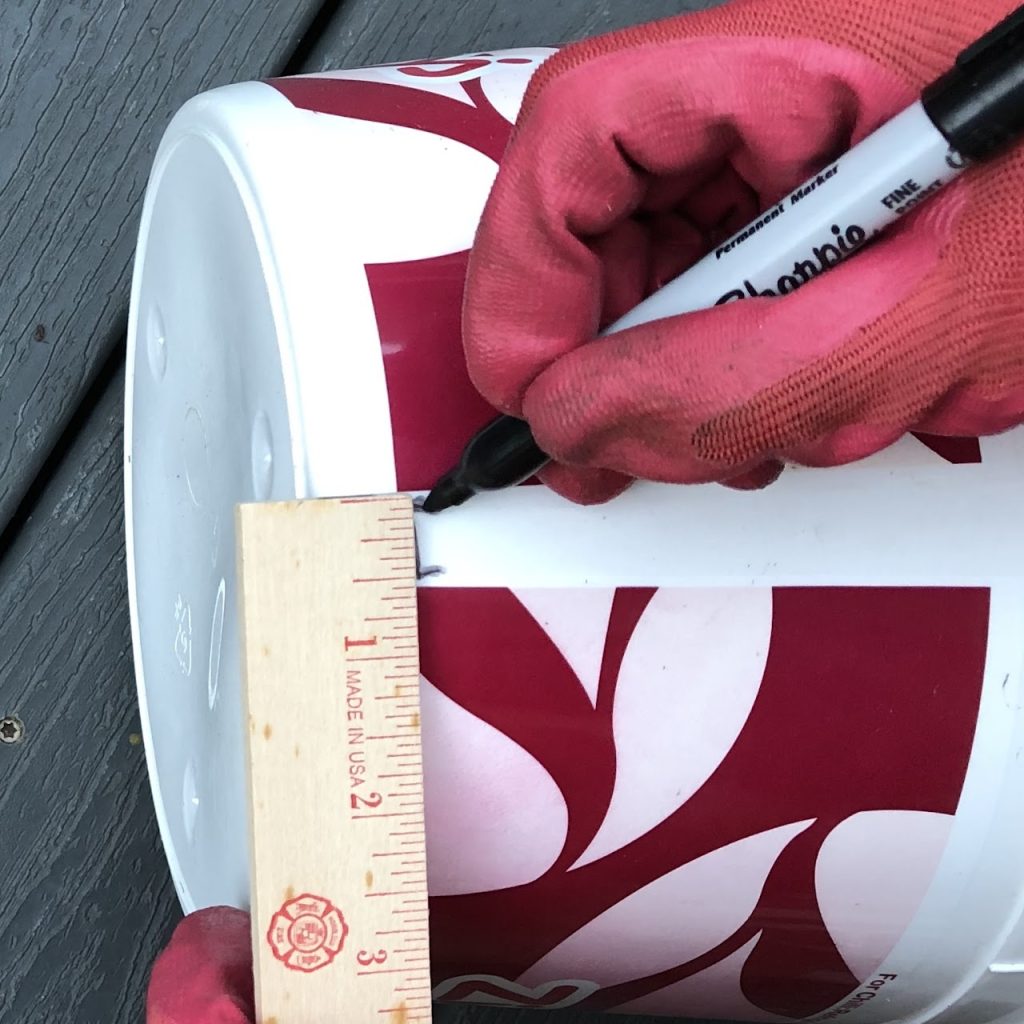
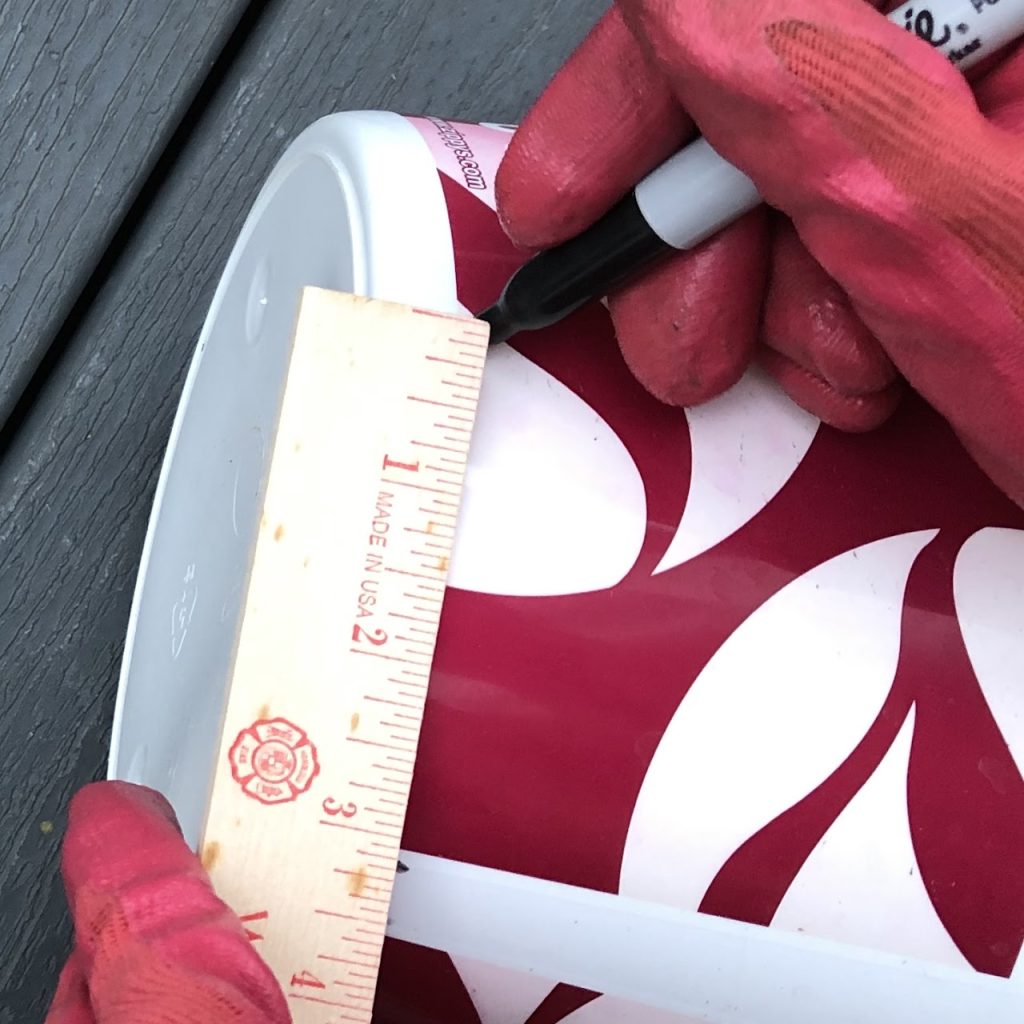
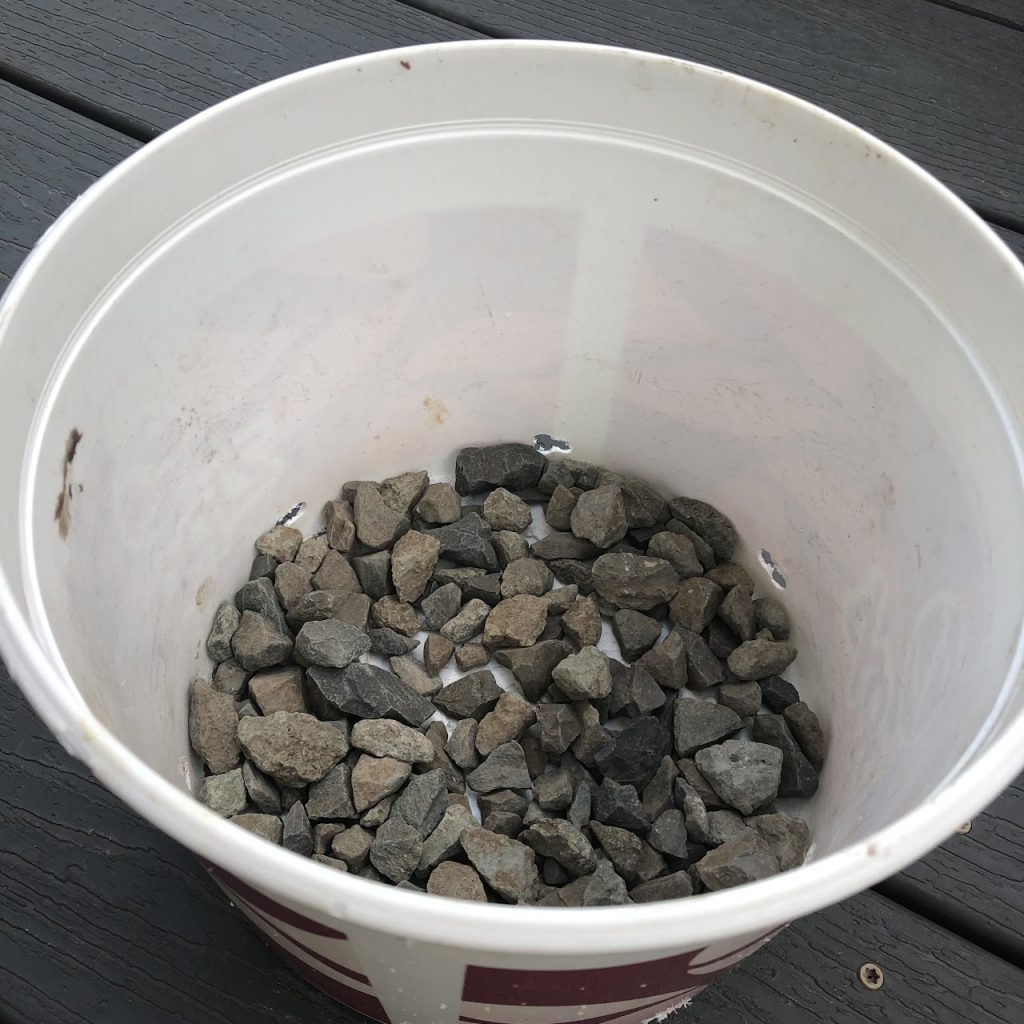
Make paper pots (see above video) and fill them with potting mix.
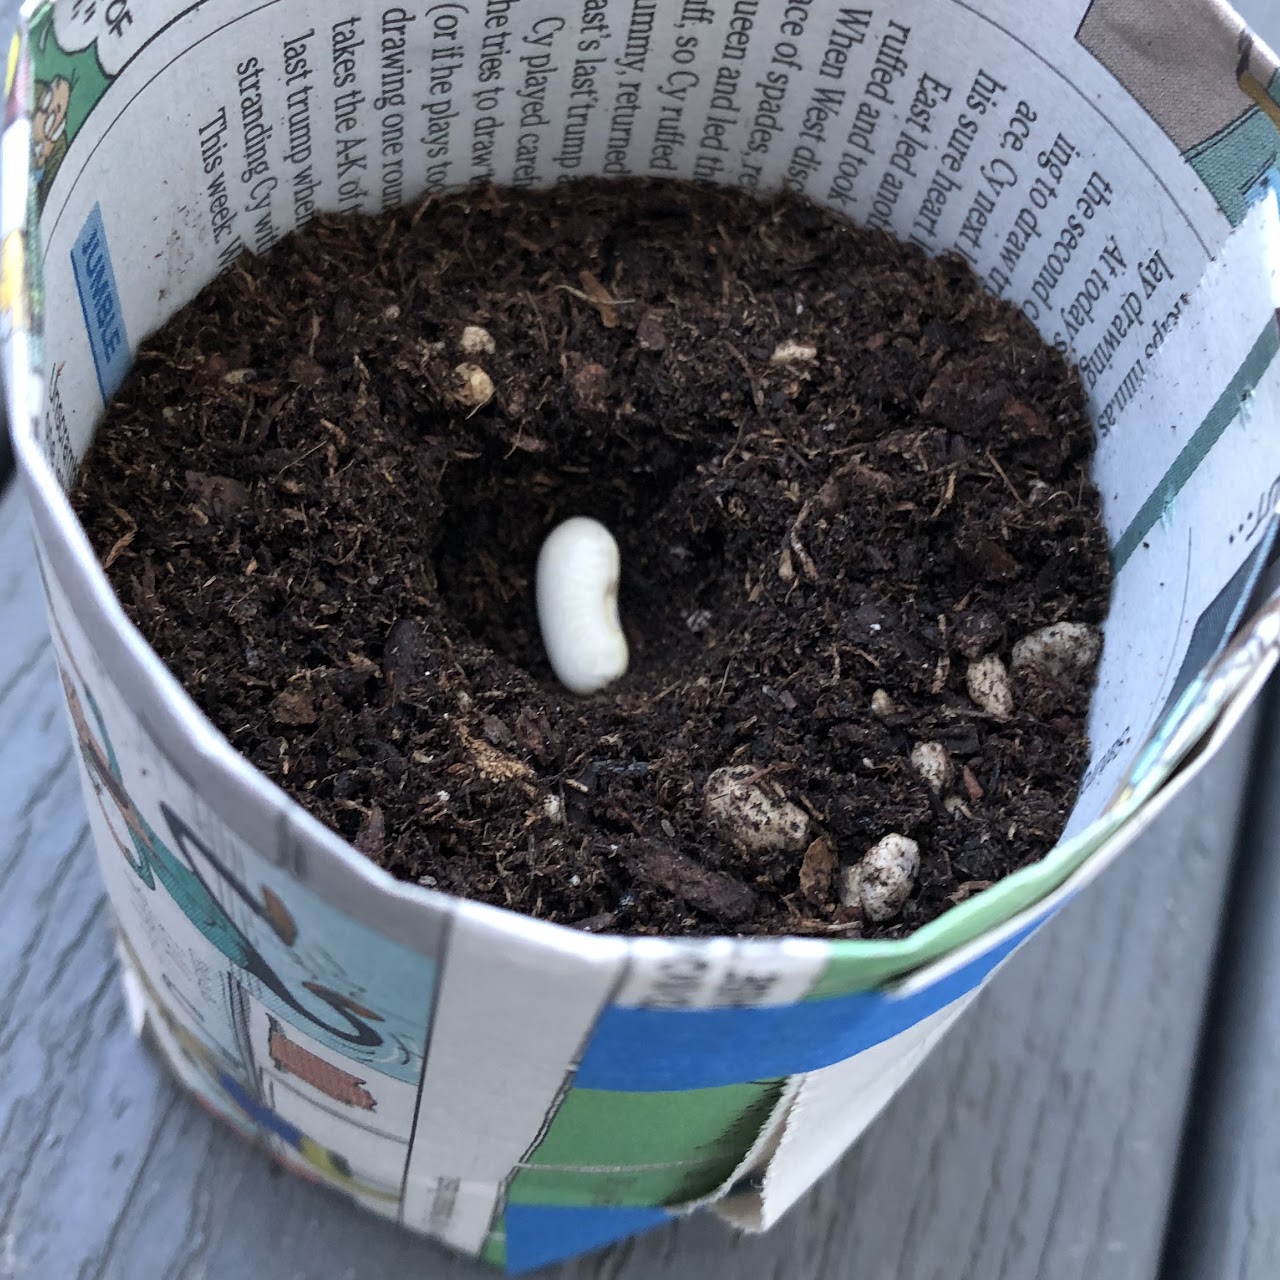
Place each seed in a 1/2" to 1" deep hole in the potting mix. Cover gently with soil. Water daily and watch your plant grow!
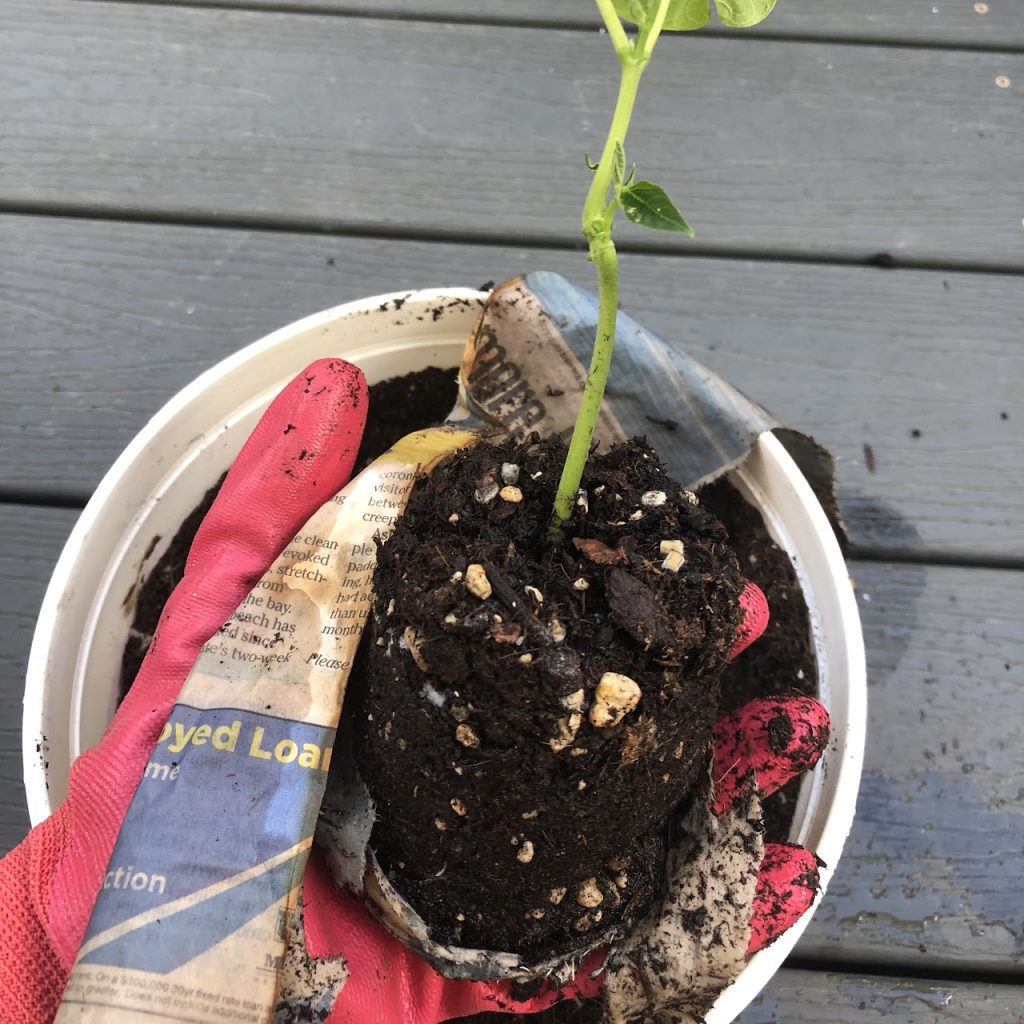
See the seed sprouting (or germinating) out of the white outer seed coat.
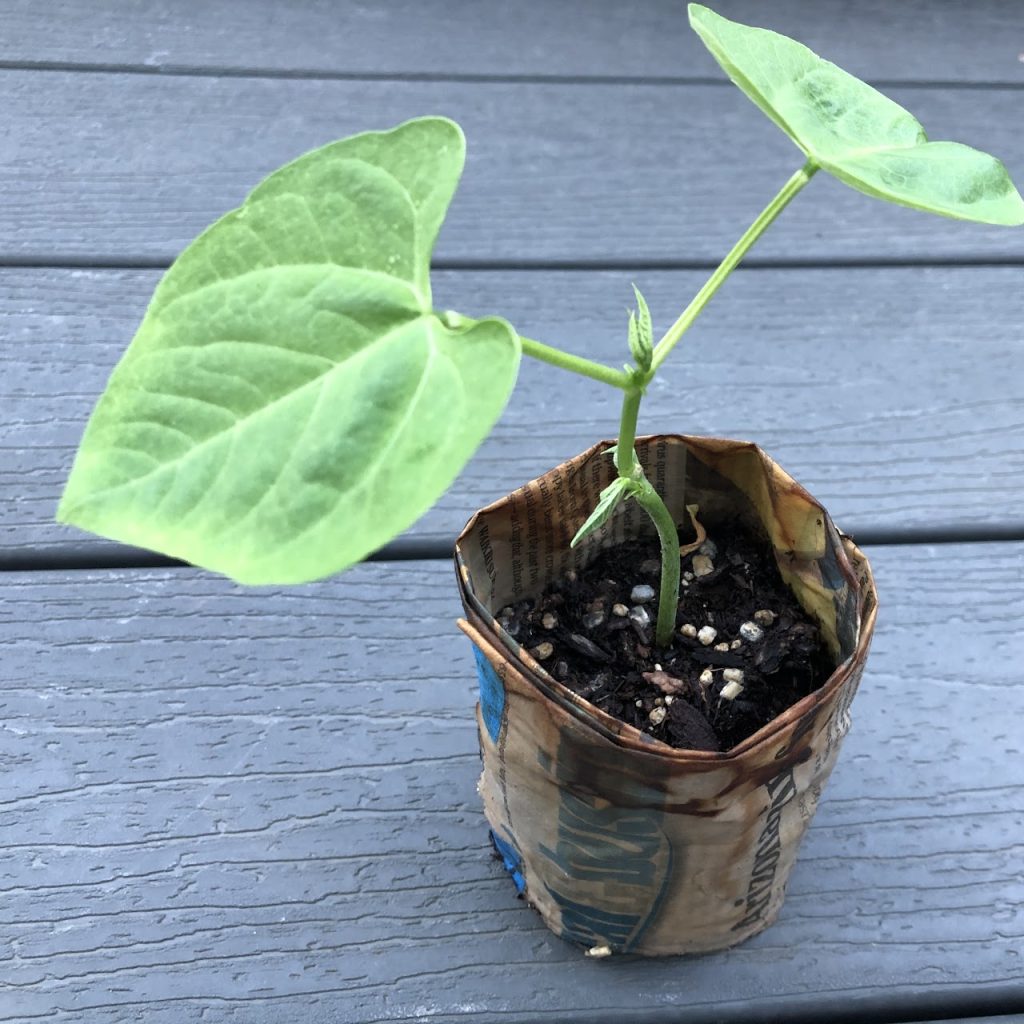
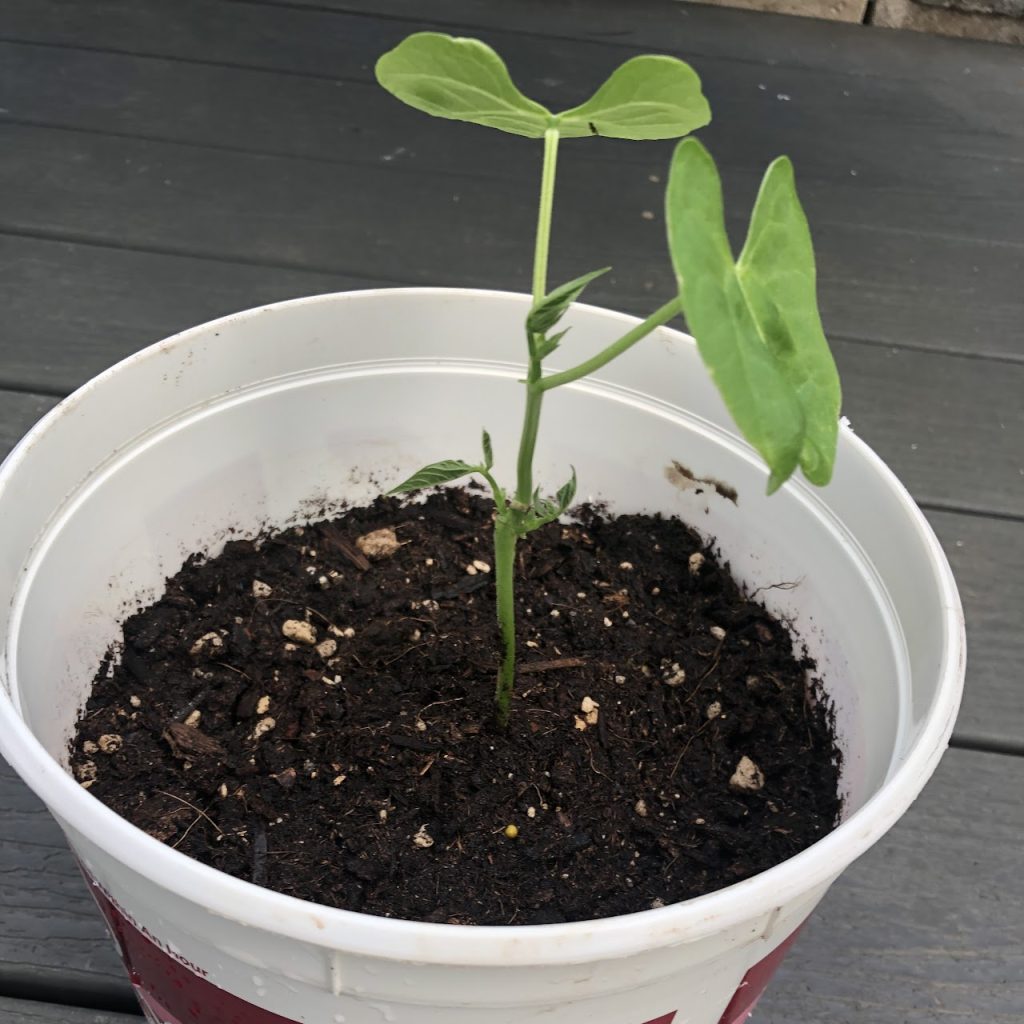
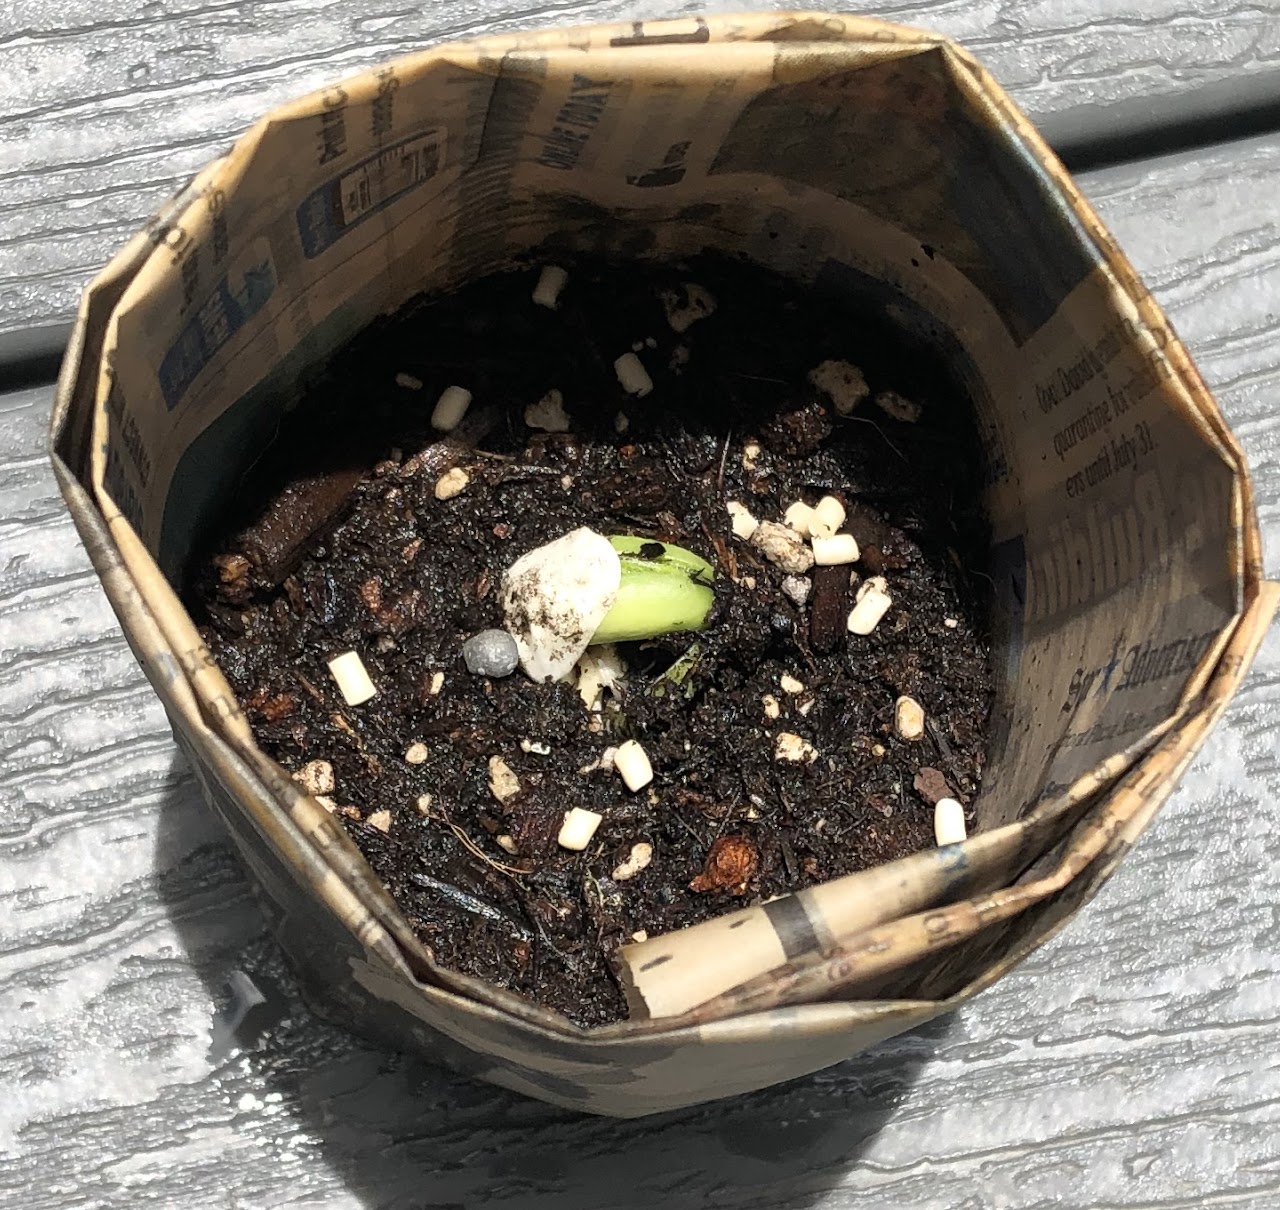
The seed leaves (or cotyledon) rise out of the soil.

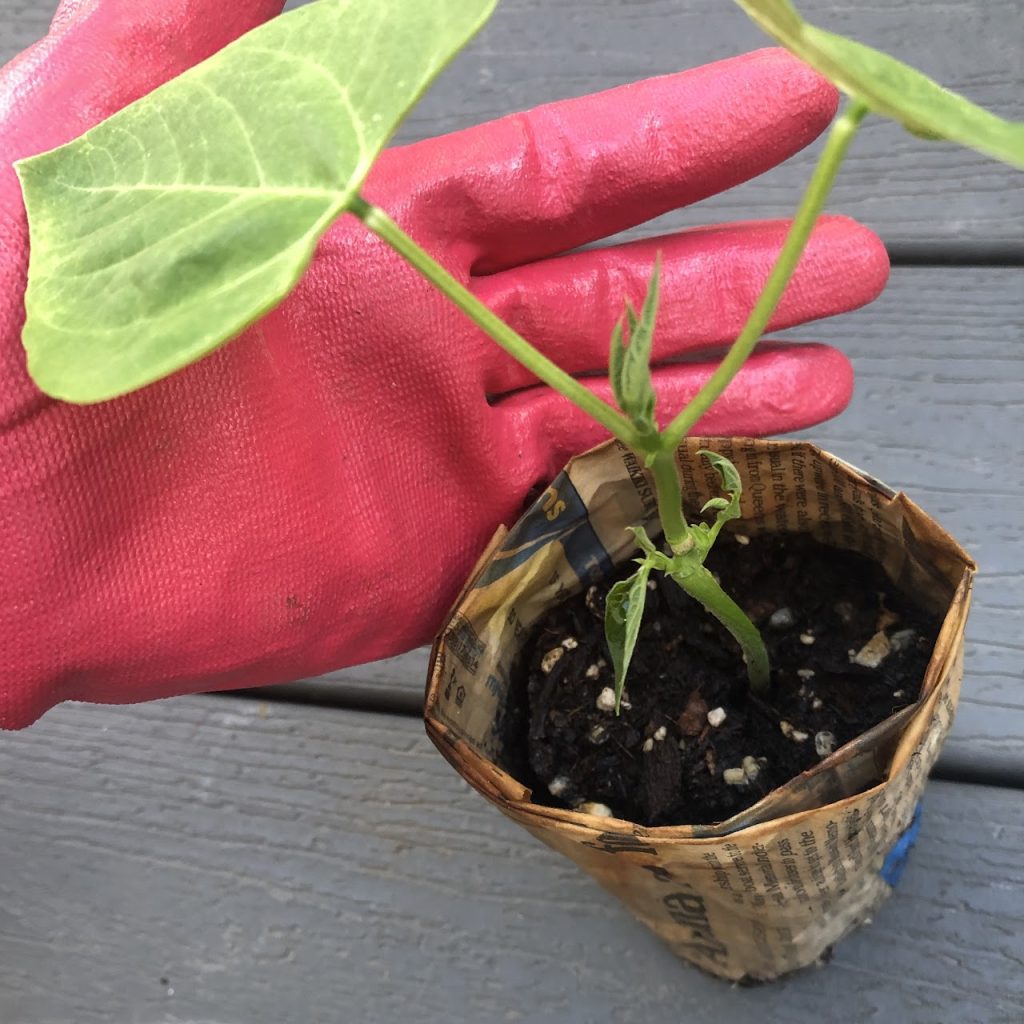
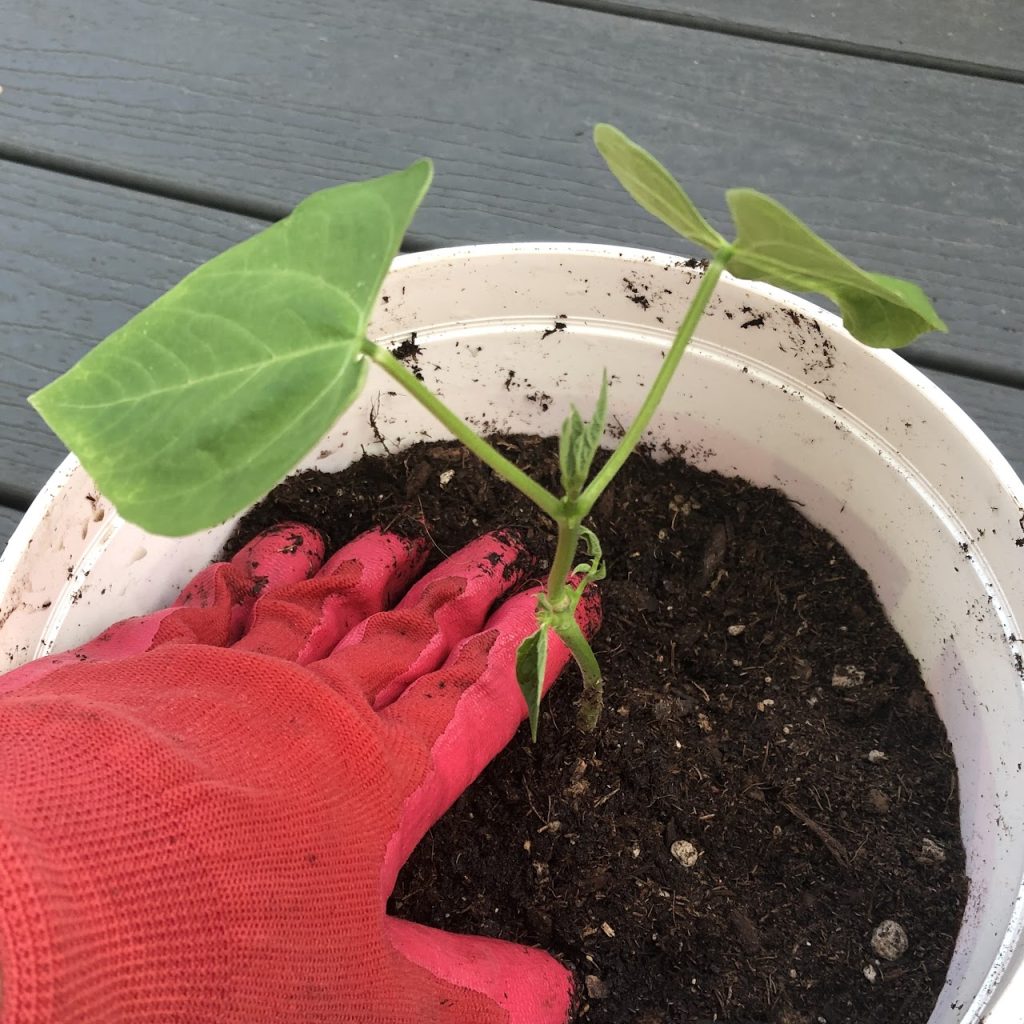
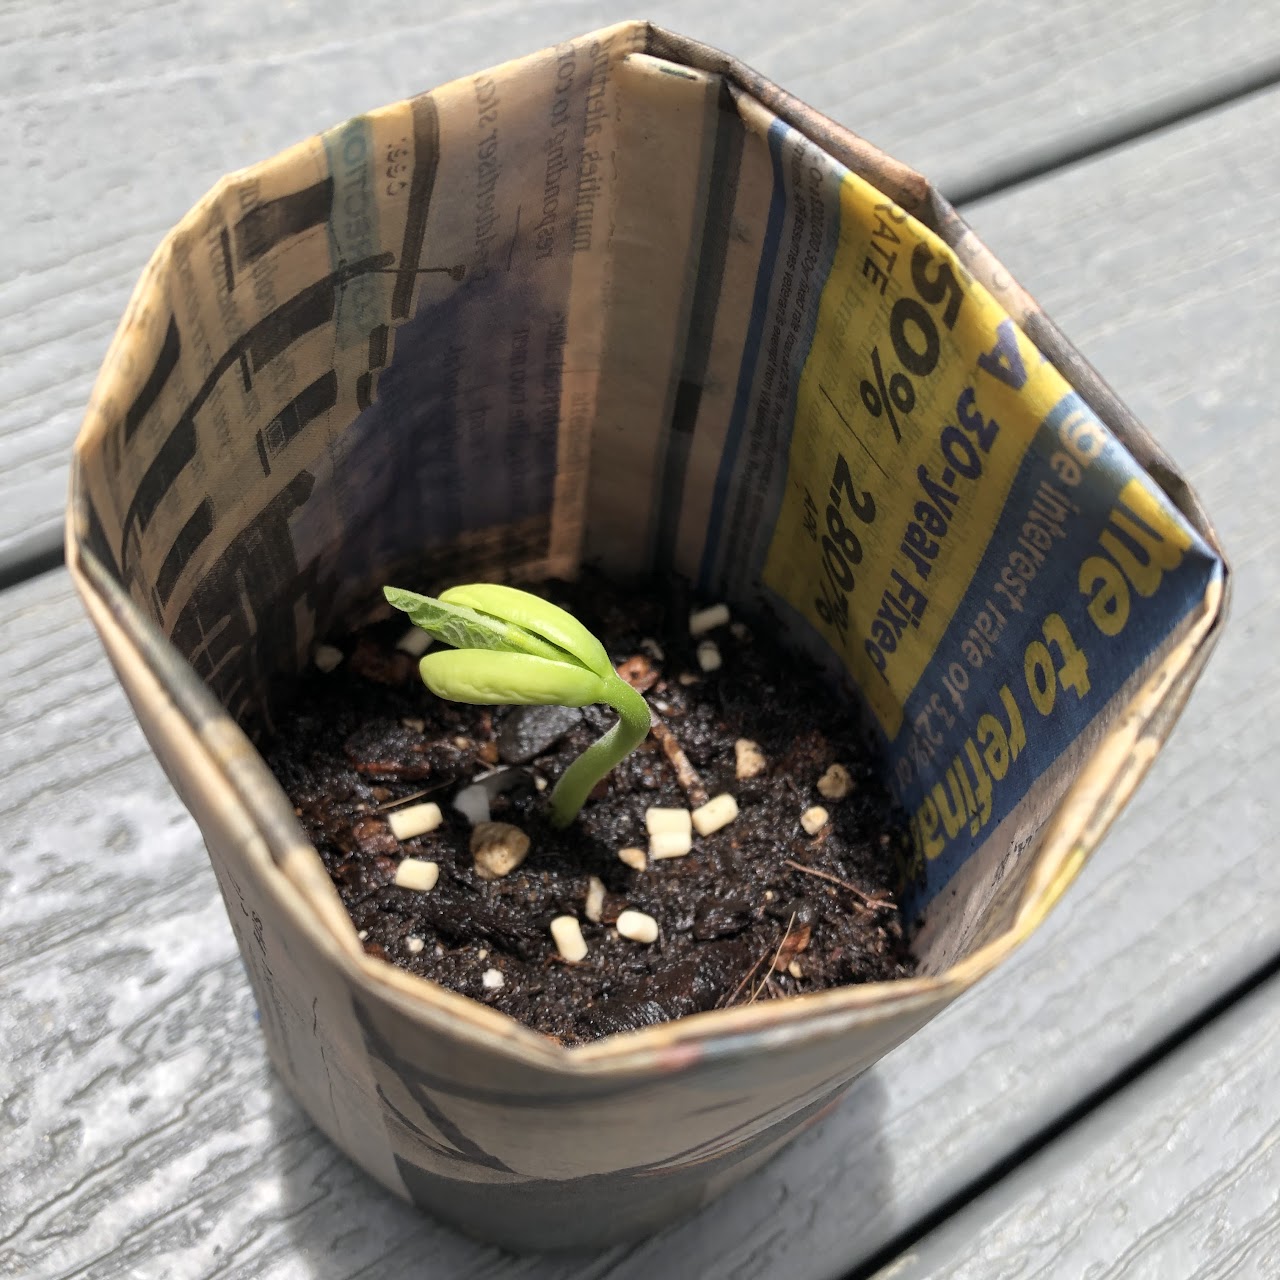
The first true leaves develop.
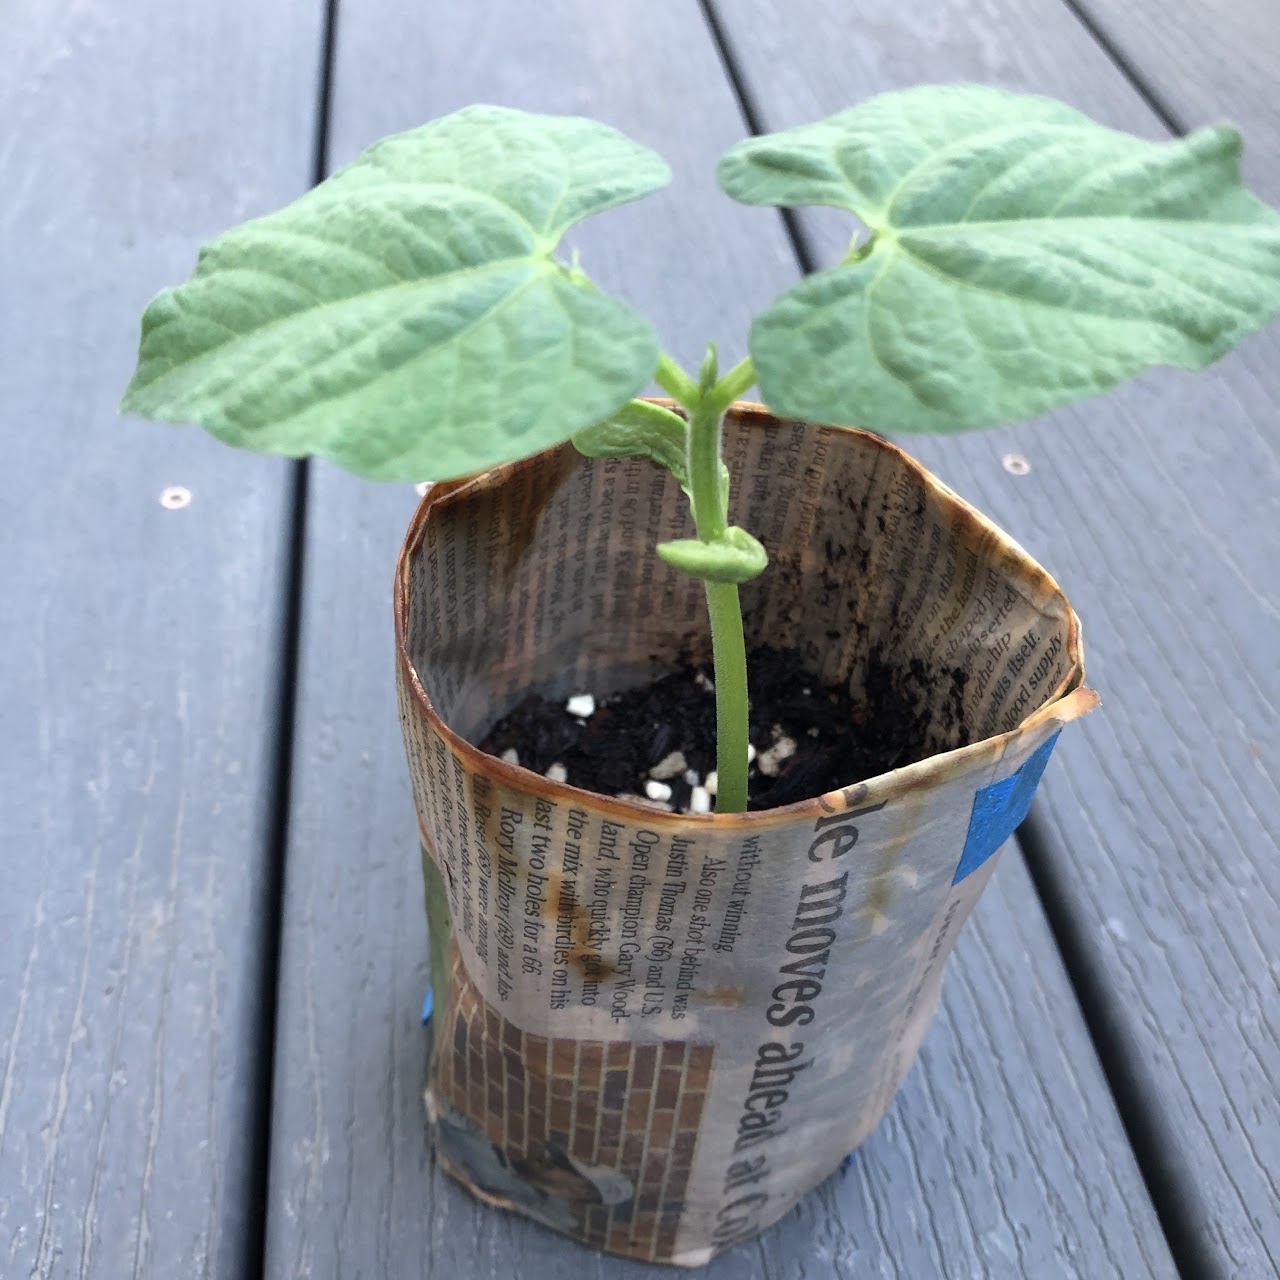
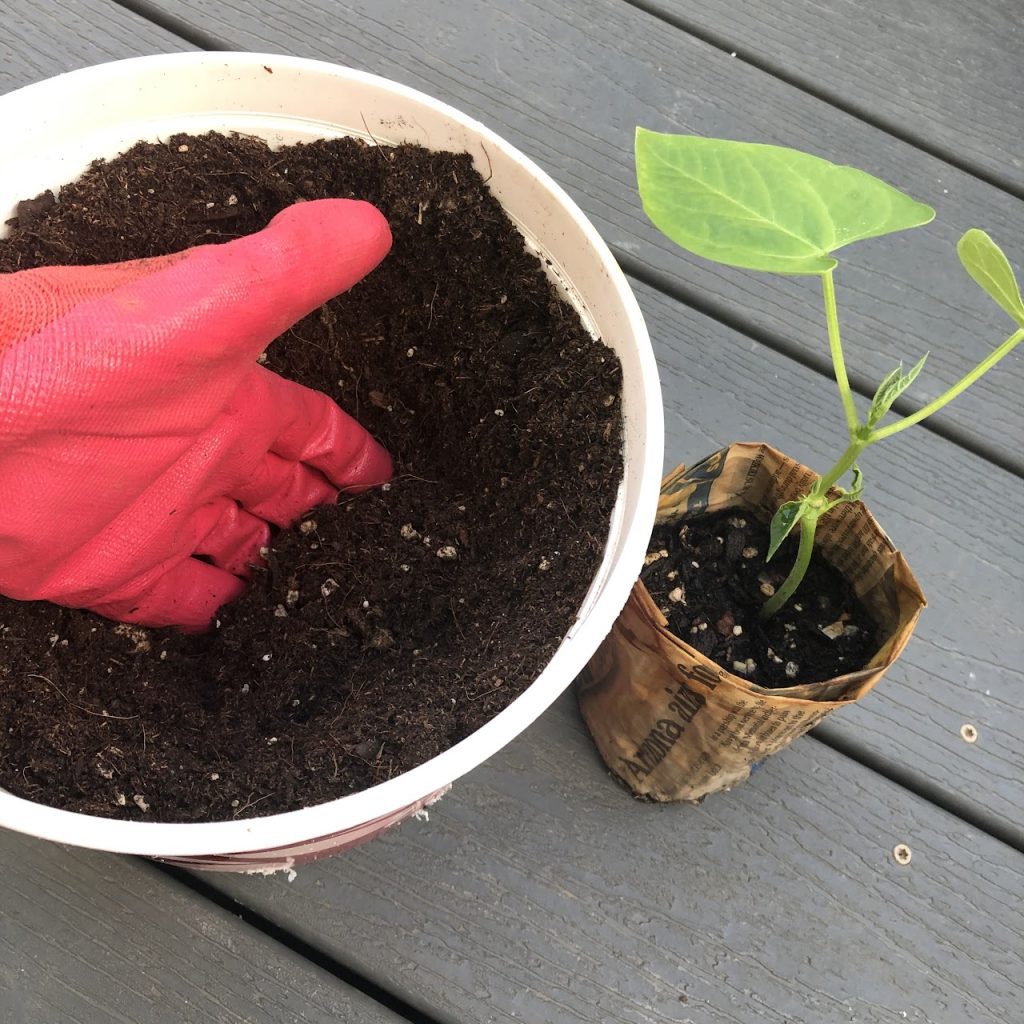
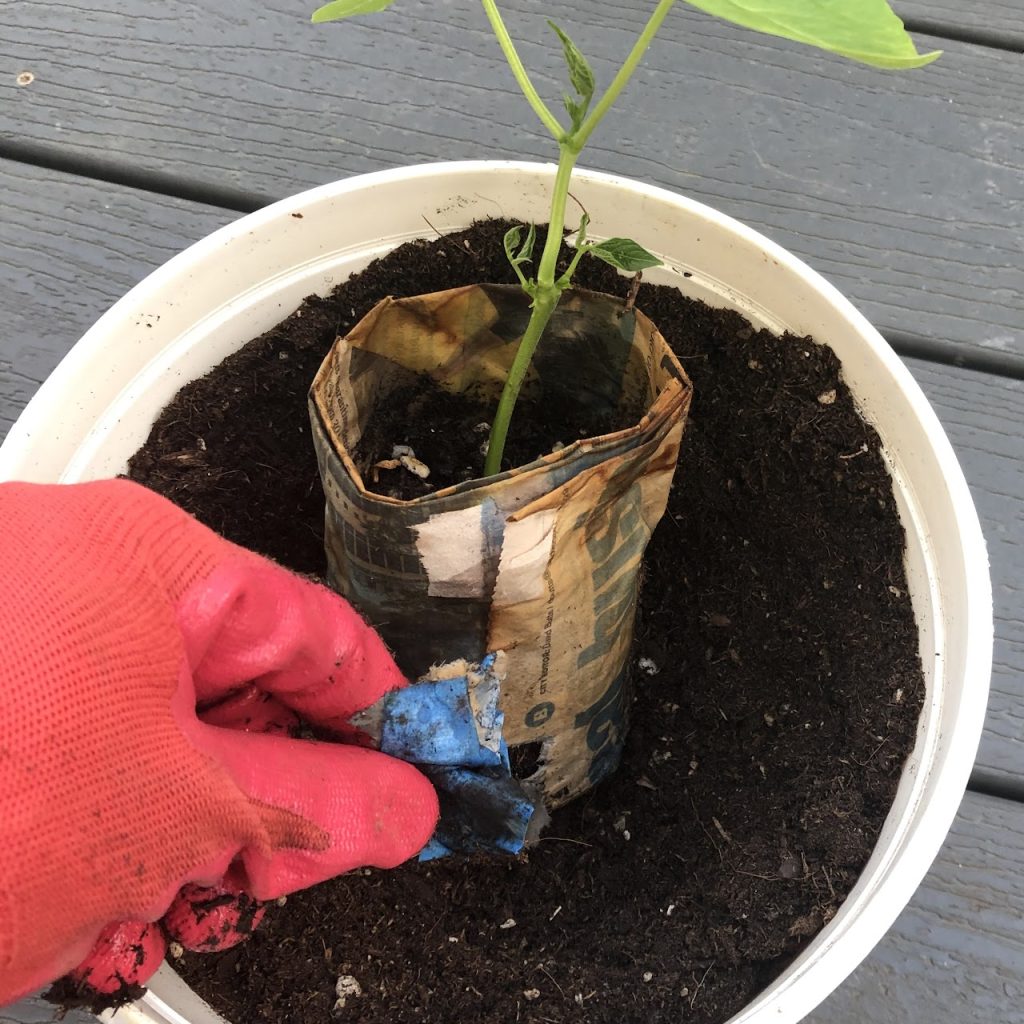
After two or three true leaves have grown, follow directions on Transplanting below.

The plant starts to flower.
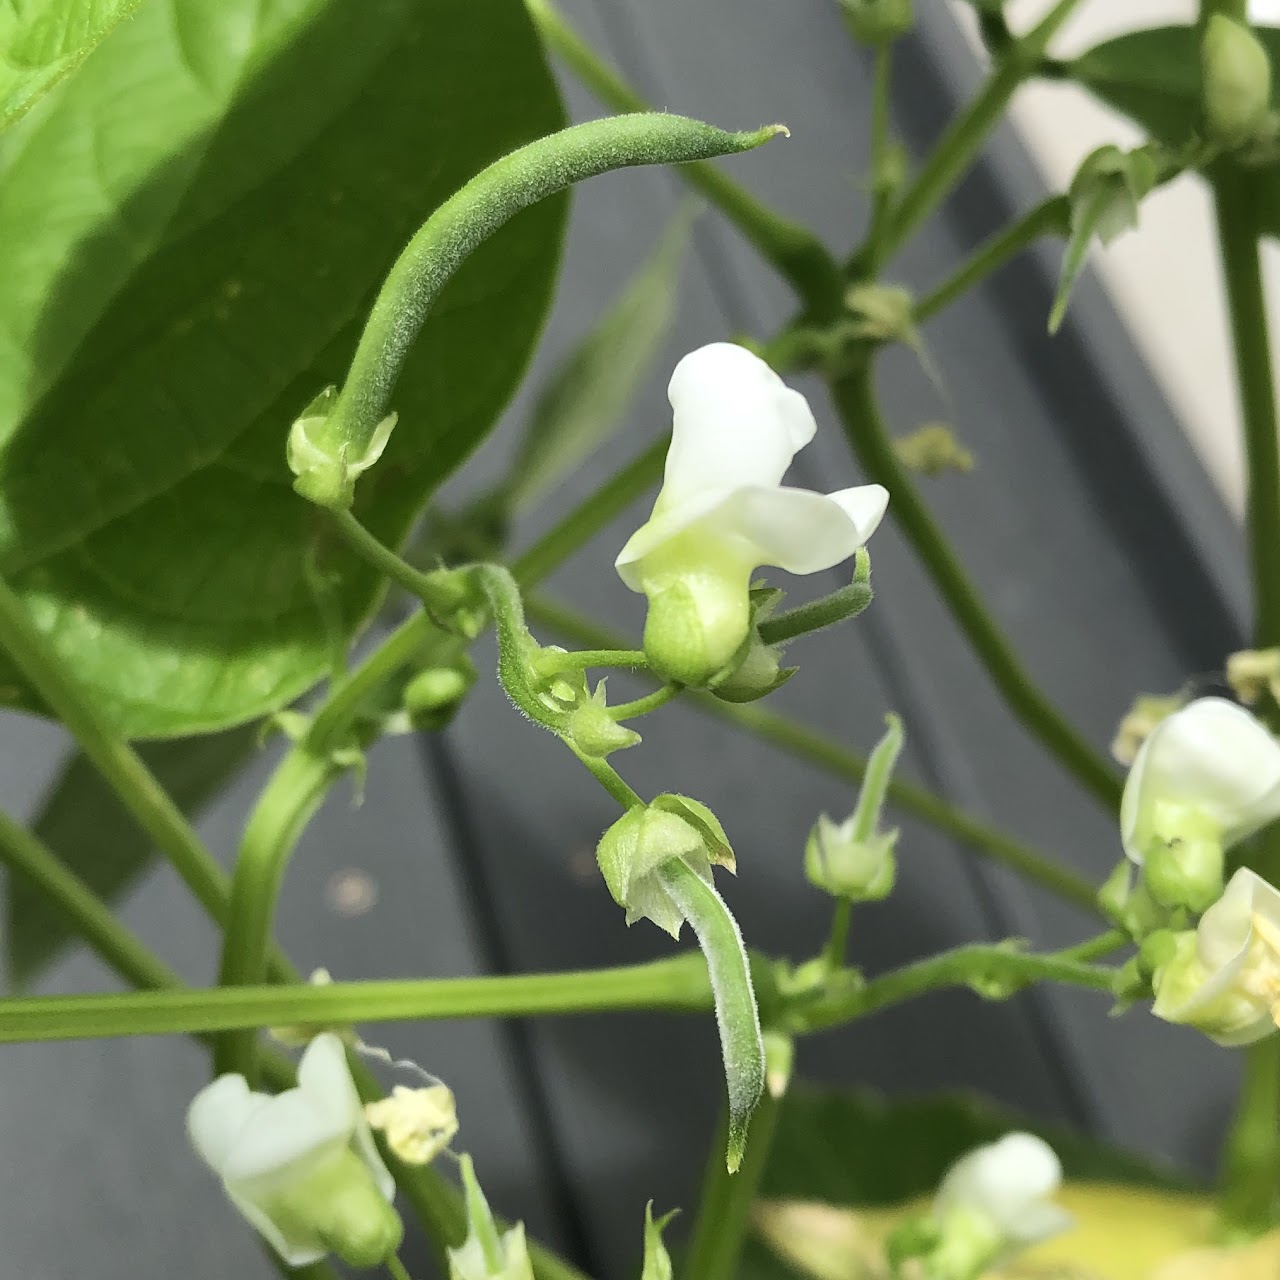
Beans start to grow.
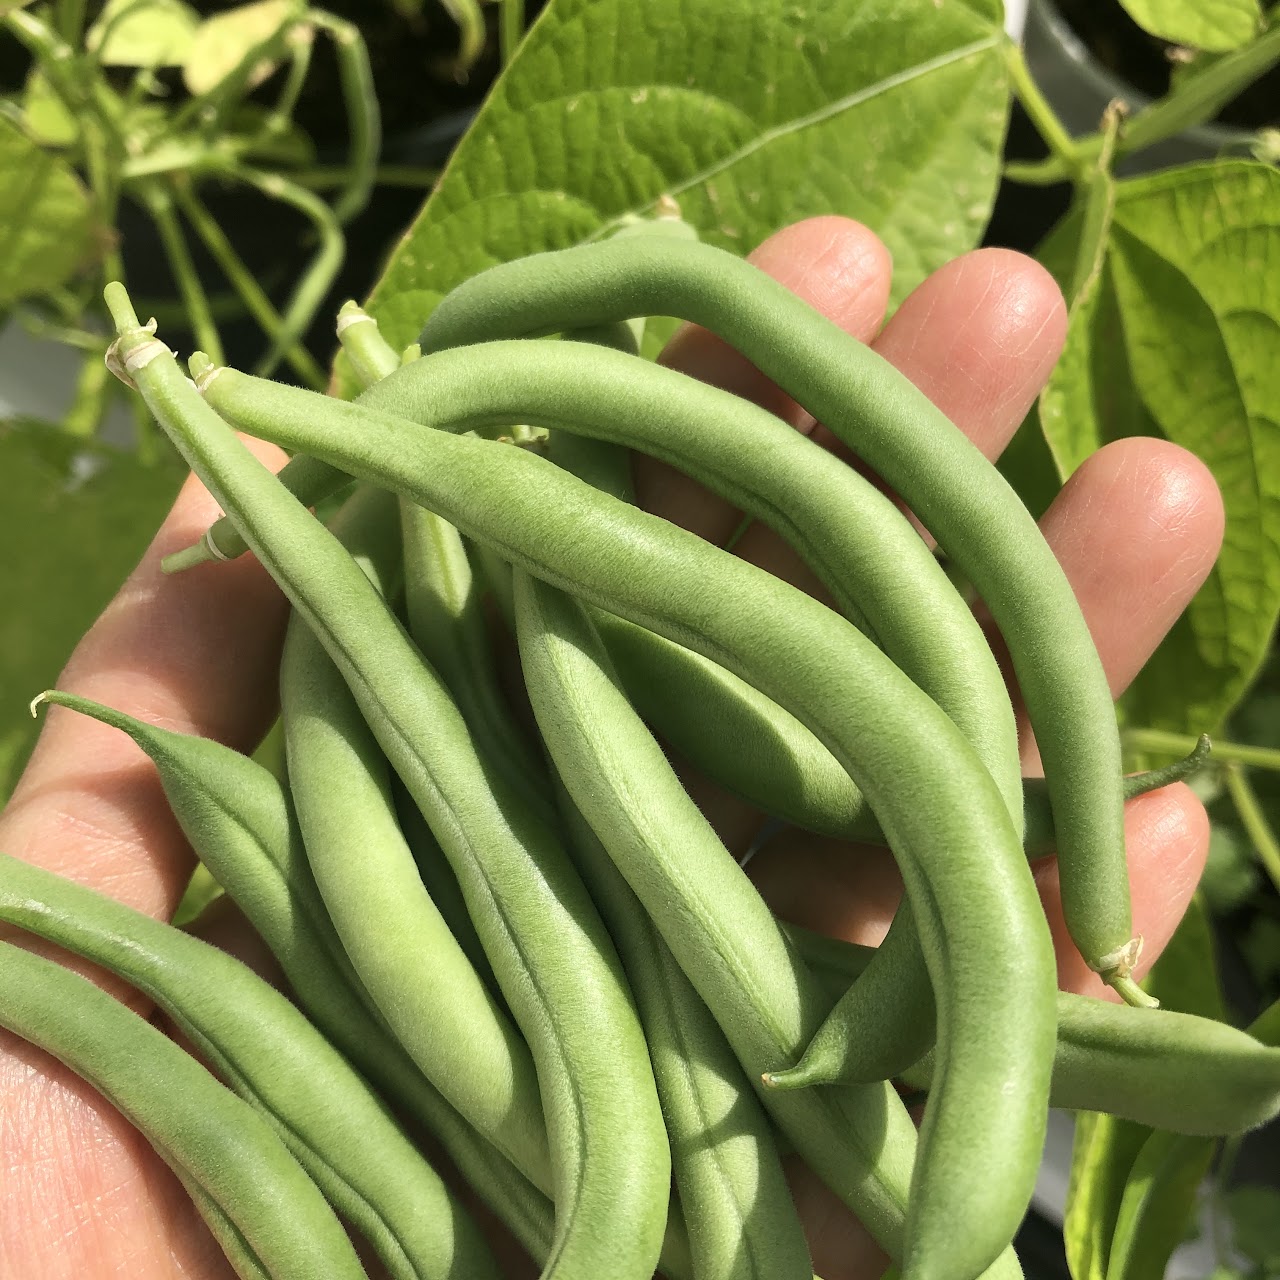
Harvest and enjoy!
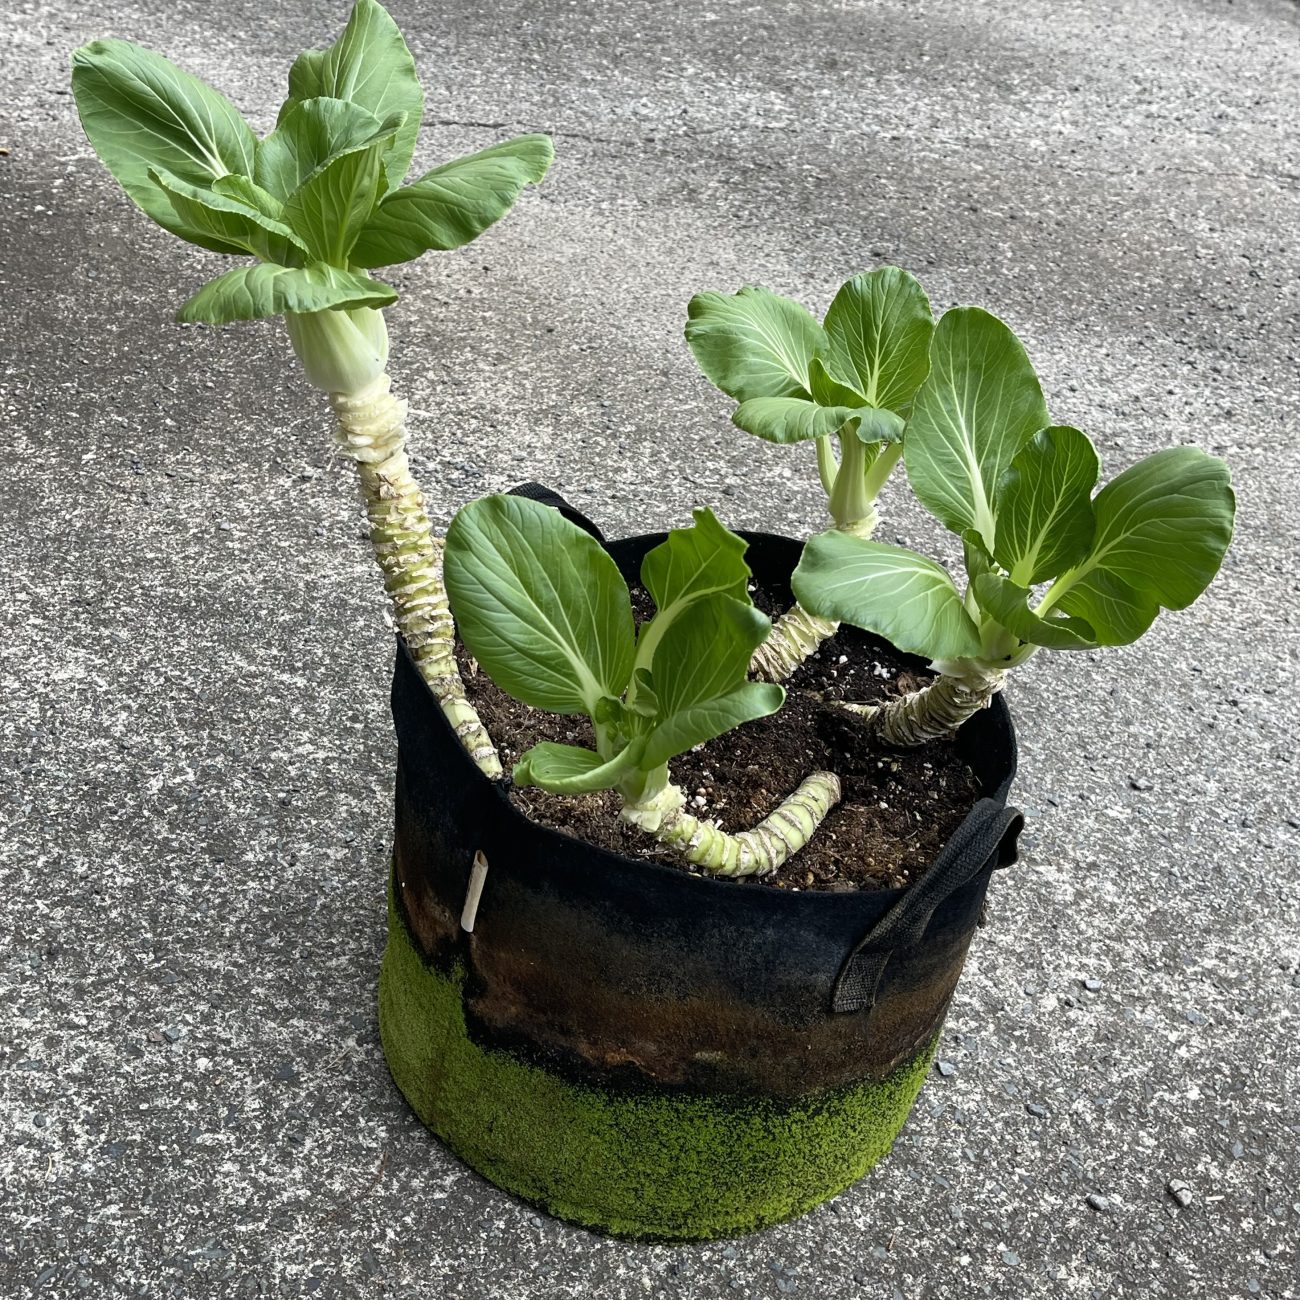
Mature leaves harvested
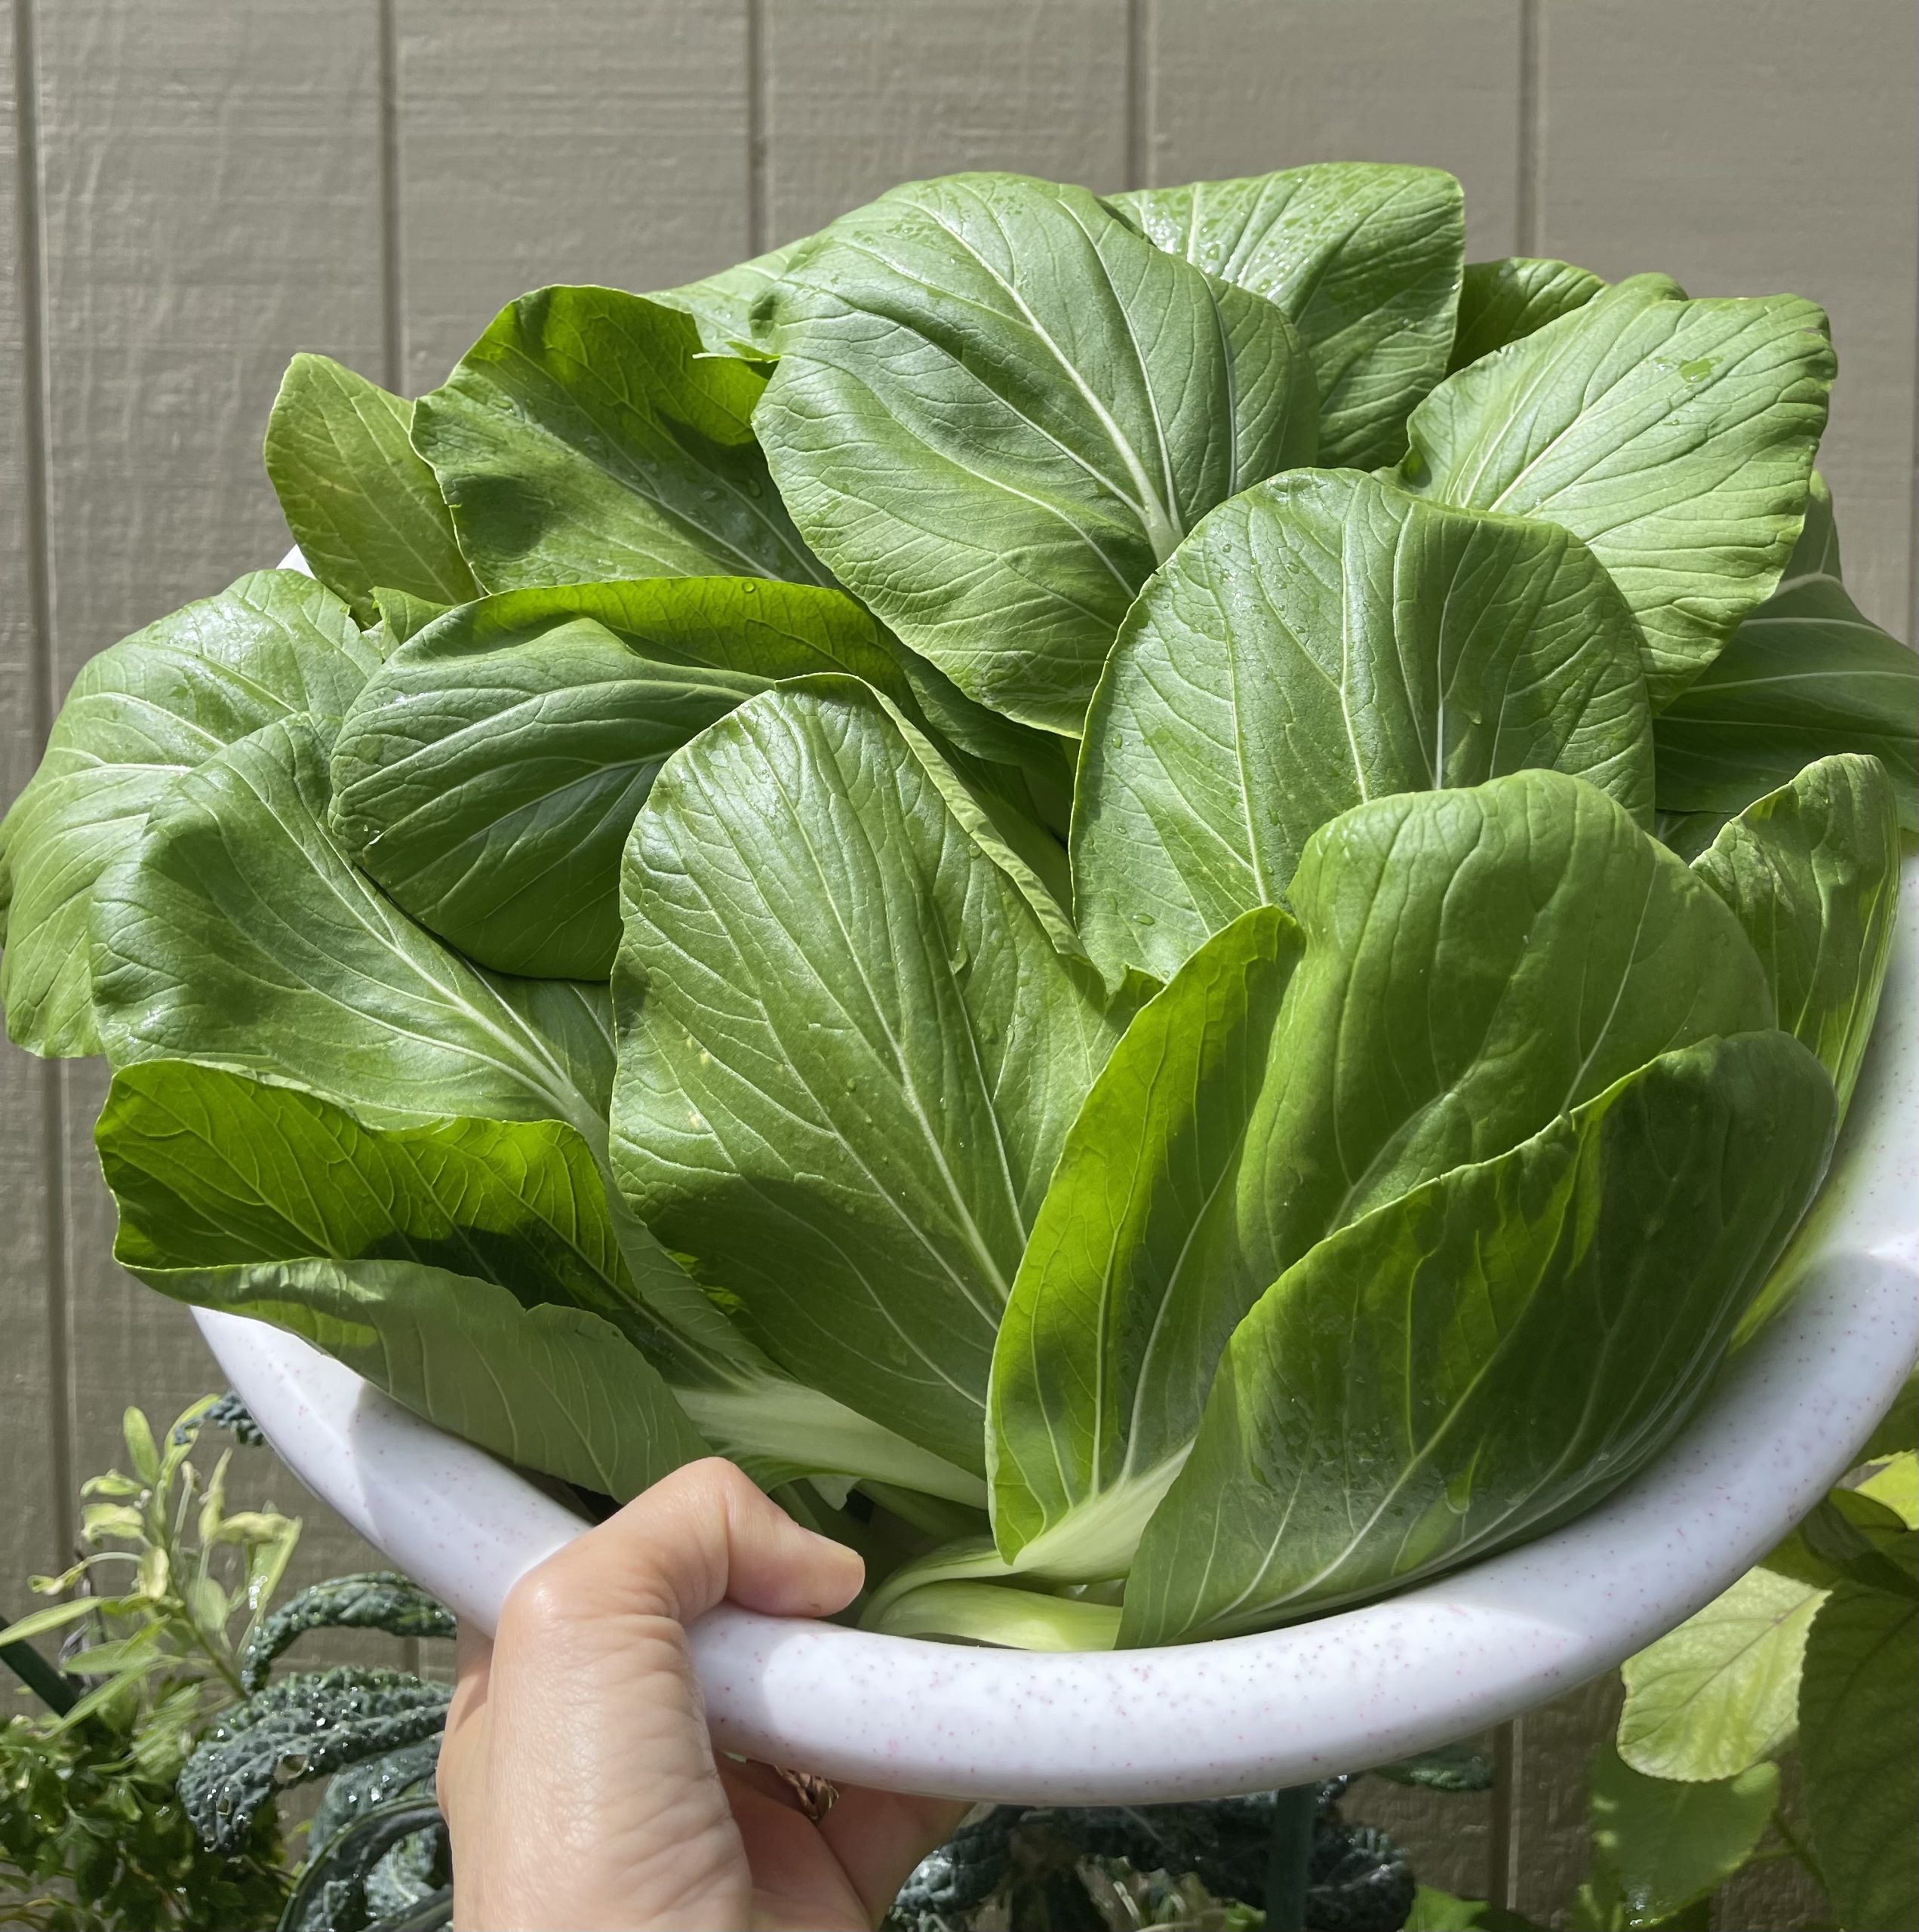
Mature leaves harvested